How to use PostgreSQL for the Grafana configuration in Docker
Do you want to know how to easily set up PostgreSQL to store your Grafana configuration? In this post, you will learn how to do this easily with Docker and some built-in Grafana features.
Let’s get you started with a short overview of the used technologies and then the implementation!
Steps
- Docker overview
- PostgreSQL overview
- Grafana overview
- What is a .env file?
- File Structure
- Set up PostgreSQL
- Set up Grafana
Docker overview
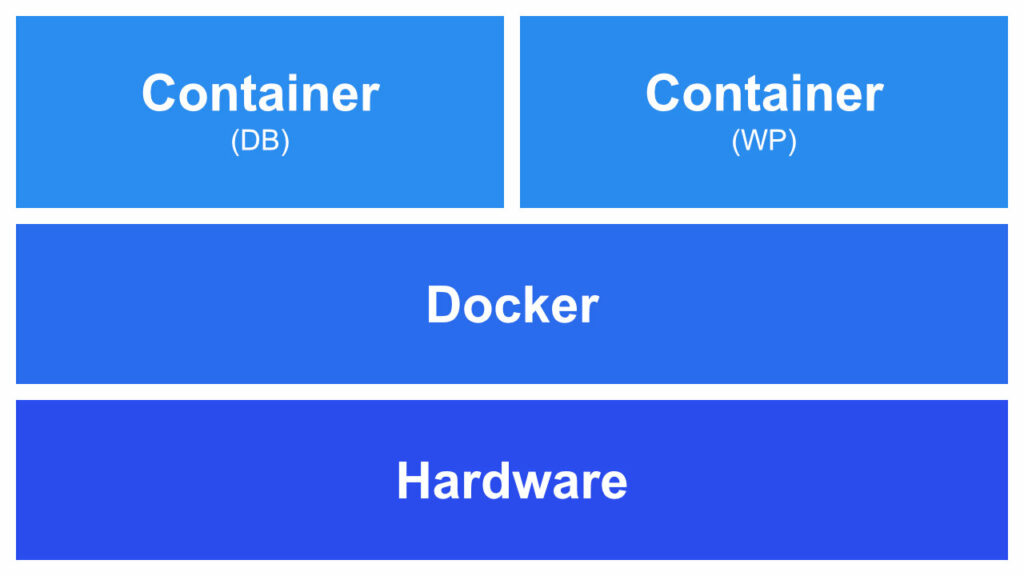
Docker is a platform to develop, ship, and run different applications as microservices. The microservices work in a container system where each container is one application. You can see each container as a separate virtual machine — a machine inside of your machine — with exactly one task. That is not exactly how it works in practice, but it visualizes the concept pretty well. In the following image, you see that Docker is placed on top of your operating system. From there Docker can deploy an infinite number of small containers.

Because of the way Docker works it is platform-independent and can run every container on every operating system. I personally use this to develop containers and concepts on my Windows machine and transfer them to my Linux server on the web.
[convertkit form=2649016]
PostgreSQL overview
PostgreSQL is an Open Source Relational Database that is in development for over 30 years. This makes it a really robust and feature-rich system. It also invites people to develop features to improve the database. One great example of this is the TimescaleDB extension that converts PostgreSQL into a full-fledged time-series database and extends the standard PostgreSQL features with really good compression, better insert speeds, etc.
Relational databases work with the concept of tables or relations to store the data. These tables can be connected. To connect two tables they need to contain a reference to each other, this is often an ID of the object. After creating a Schema and filling the tables with some data, the data can be requested with the Structured Query Language (SQL). This is a pretty effective way to store and retrieve data.

If this guide is helpful to you and you like what I do, please support me with a coffee!
As an example of the explained concepts, we have a sensor that stores values over time. Therefore we have one table that contains the sensor data and the sensor id. On the other hand, we have a sensor_value table that references the sensor id. With this, we can at a later point use this connection to retrieve the stored values for a sensor.

This is possible by using SQL and the built-in join functionality:
SELECT s.id, v.value FROM sensor s JOIN sensor_value v ON s.id = v.sensor_id;Grafana overview
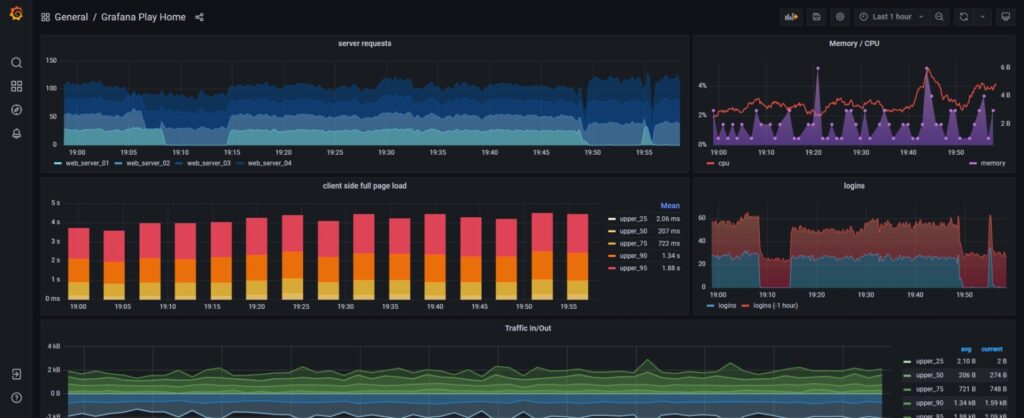
Grafana is an open-source tool to visualize data. Most of the time this is time-series data, but it can also be used to visualize other elements of your database. To visualize the data you have the option to create different dashboards containing different visualization panels. Each panel requests data from a data source, where a data source can be a database or something else.

It already comes with a lot of useful features like user creation and permission management to ease the process of using this tool. One important aspect is the creation of a dynamic dashboard with template variables that enables you to really creative solutions. Like PostgreSQL, Grafana has an active community that contributes new features to the tool.
What is a .env file?
.env files can be used to store environment variables. An environment variable is available everywhere on your system and is used by different applications and containers. The most important use case for storing them in a file is, that you can access the variables in your source code without explicitly declaring them.
With this, the security risk is lower because passwords, usernames, or API keys are not stored in the source code of the application. If we now push our application to GitHub or something similar we can just put the .env files into the .gitignore file and thus have it only locally on our system.
KEY=valueInside the .env file, there are multiple key-value pairs, where the keys are all uppercase. After filling the .env file, we can add the following line to our .gitignore and never push it to GitHub.
.*envFile Structure
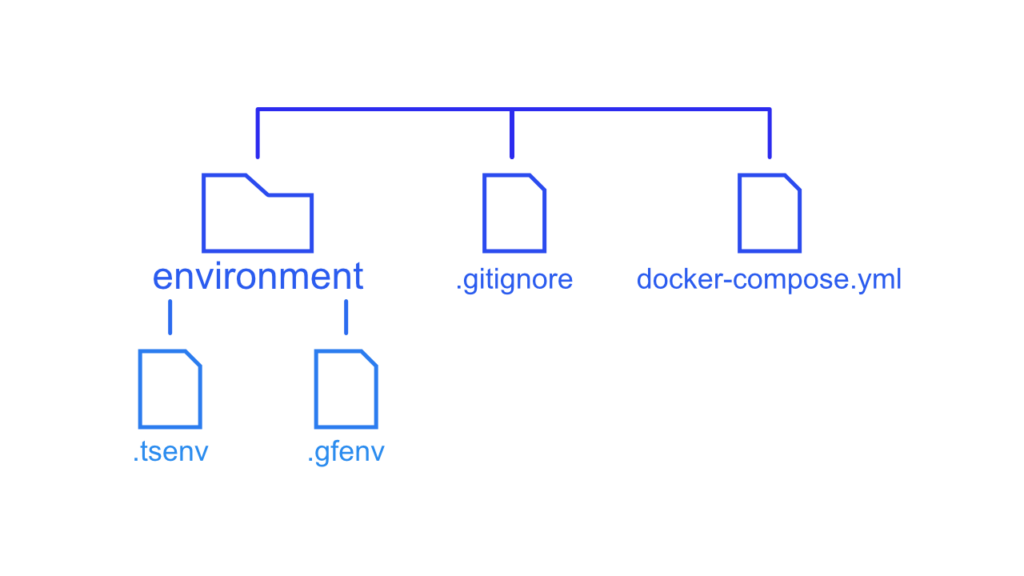
To set up the project we will have one folder holding the environment variables for the different containers and a docker-compose file to store the container configuration. Additionally, we need a .gitignore file to keep the .env files secret.

Set up PostgreSQL
Setting up PostgreSQL is a pretty straightforward task. First, we need to define some environment variables inside the .tsenv file to create a user and the database itself, then we will create a docker container inside the docker-compose that is using the defined environment variables.
POSTGRES_DB=grafana
POSTGRES_USER=postgres
POSTGRES_PASSWORD=password
The env_file property includes the .tsenv file in the container. If you want a cheat sheet for the most important docker-compose properties, check out my last post.
postgres:
        container_name: postgres
        image: postgres
        ports:
            - 5432:5432
        volumes:
            - ./postgres:/var/lib/postgresql/data
        env_file:
            - environment/.tsenv
Now execute the following command to create the container in a detached mode:
docker-compose up -d postgresSet up Grafana
With PostgreSQL set up, we can now start with Grafana. Normally to use PostgreSQL you need to configure everything in the grafana.ini file. This has one problem… You will need to get that first, then configure everything and then map it to the appropriate spot. But there is a much easier way by utilizing environment variables.
Normally we would have to configure the following inside of the grafana.ini file to use PostgreSQL as the configuration storage:
[database]
type = {TYPE}
host = {HOST}
name = {NAME}
user = {USER}

password = {PASSWORD}

ssl_mode = {SSL_MODE}
We can configure the same with environment variables with the following schema: GF_{section}_{key}={value}
With this in mind we can create the .gfenv file like this:
GF_DATABASE_TYPE=postgres
GF_DATABASE_HOST=postgres:5432
GF_DATABASE_NAME=grafana
GF_DATABASE_USER=postgres
GF_DATABASE_PASSWORD=password
GF_DATABASE_SSL_MODE=disable
Now that we configured Grafana to use PostgreSQL as a base, we can create the container inside the docker-compose file.
grafana:
        container_name: grafana
        image: grafana/grafana:latest
        restart: unless-stopped
        depends_on:
            - postgres
        ports:
            - 3000:3000
        volumes:
            - ./grafana:/var/lib/grafana
        env_file: environment/.gfenv
We can now build the container by utilizing docker-compose again:
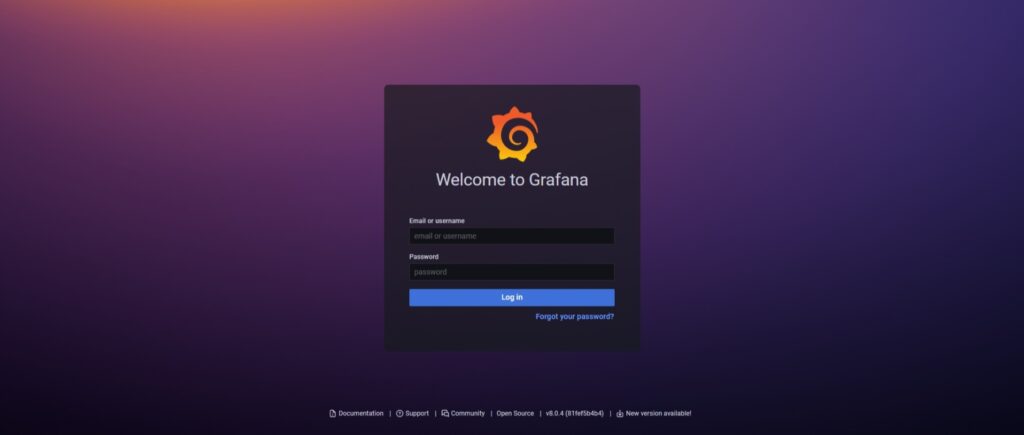
docker-compose up -d grafanaIf everything was successful we can open our web browser, head to http://localhost:3000, and open up Grafana for the first time.

With this, we set up Grafana with PostgreSQL to store the configurations. I hope this guide was helpful. If you have any questions or feedback, please leave a comment or send me a mail at mail@programonaut.com.


